Andy Raymond's Ampico "B" Valve Blocks - PAGE 2
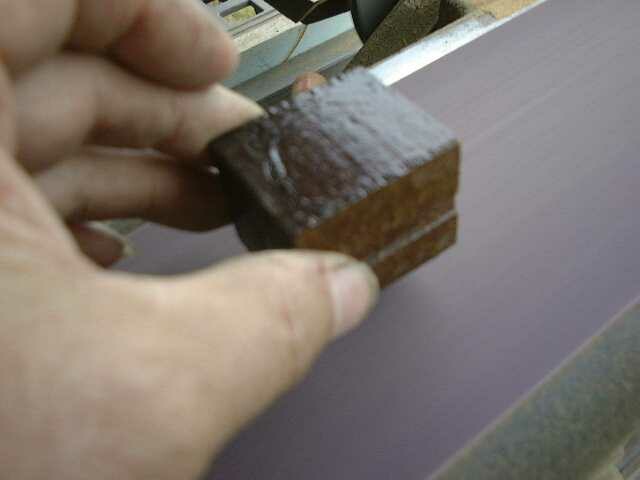
Preparing to slightly sand the seamed edges of the valve block. If you have seldom used a belt
sander for this task, you must learn the basics of using a belt sander. Much care is needed to keep
the sides of the block parallel to each other.
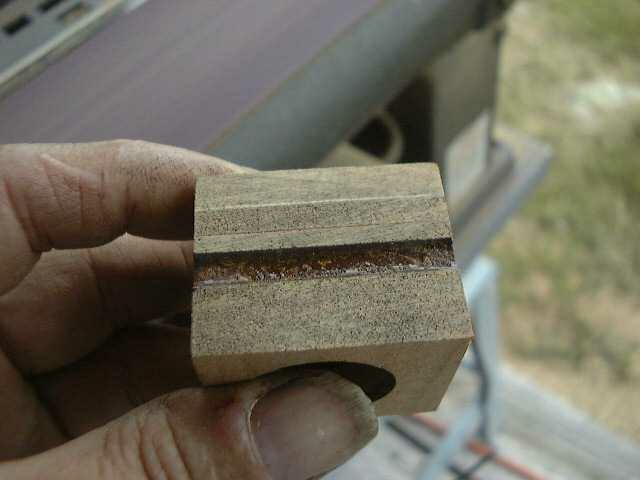
Seams are now clearly visible.
Opening the Valve BlocksIt seems that I did not document just how I opened the valve blocks. Perhaps I just misplaced the picture files of this step. I found the wood in these blocks to be the worst that I had ever worked with to date. I used the microwave for some, not worrying about the inner valve seat as I knew that had to be replaced. Many (50%) were cracked and just fell out of their hole. This worked fine for about 2/3's of the blocks. Others would not seperate after removing from the microwave, but would shear very nice while still hot. Still other had to have a sharpe edged but heavy blade knife applied to the seam and tapped with a light tack hammer. Overall, few wood parts were broken, and they were easily glued back together, or remade in my shop.
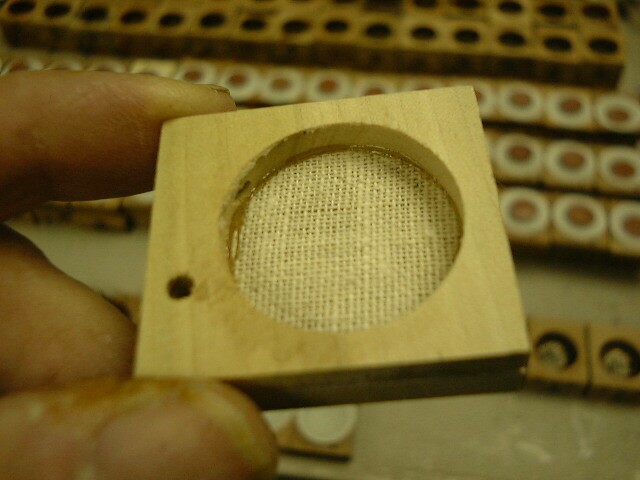
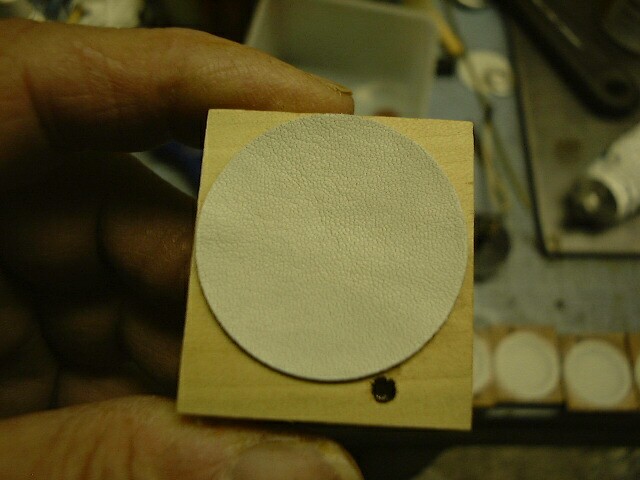
Pouch Board and Bottom Board, with dust filter between the two pieces of wood
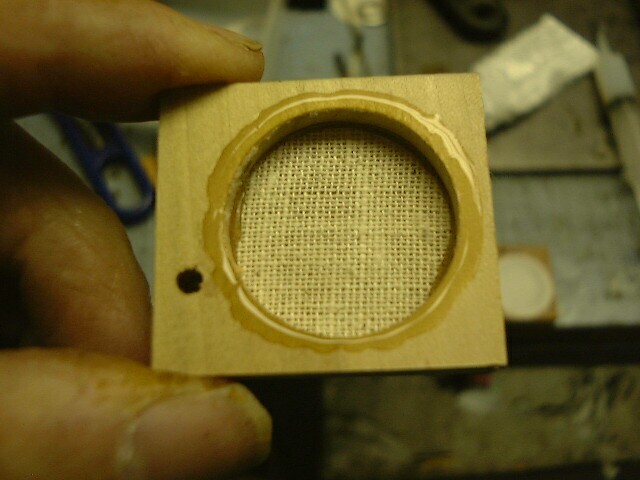
Fish Glue lightly applied in ring around pouch well
New Pouch is gently laid and centered over pouch well without pressing into glue
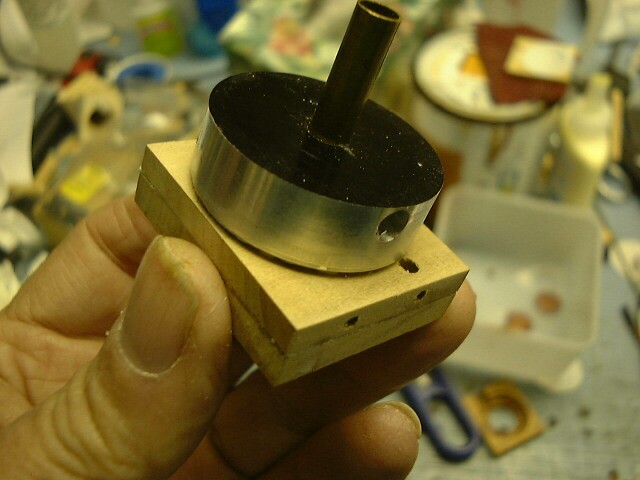
Custom Pouch Well is placed over pouch and pressed tight, providing the proper dip for the pouch
Pouch setter shown sitting on pouch, is normally held in my right hand, but need that hand for camera...
HOME TO PAGE ONE TO PAGE THREE